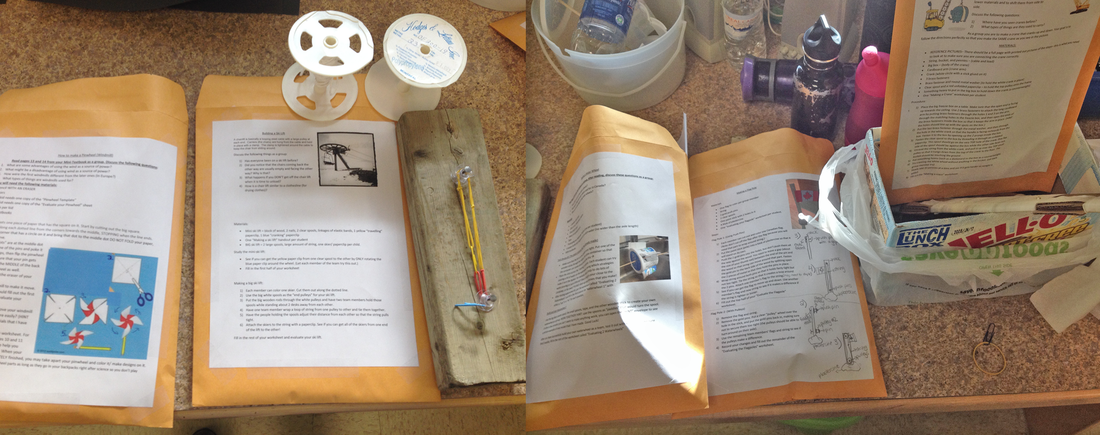
The main highlight of week 2 was definitely our "Building Devices" centers!! This week I had decided to set up science "discovery centers" to use a more hands-on method of teaching the "Devices that Move" unit. There are 5 "devices" that the students must build together in groups and they rotate to a new center each day. I wanted to make sure that this "inquiry" unit in science took more of a student centered learning approach rather than a traditional teacher-lecture approach. As I reflect on the success of this week I think that the activities were very valuable to the students' learning because they really got the chance to engage with the trial and error processes that are part of any building project. I know that I will be able to refer back to the movement of all 5 of these devices for students to immediately have an understanding of the terms that I want to address next such as friction, durability, effectiveness, fair test, etc. After all of the centers had been completed, we had class discussions about each experiment, went over the paperwork, and discussed topics such as what could've been done differently to make devices work better. The breakdown for each of the "assignments" is explained below.
#1 Pinwheel (Windmill)
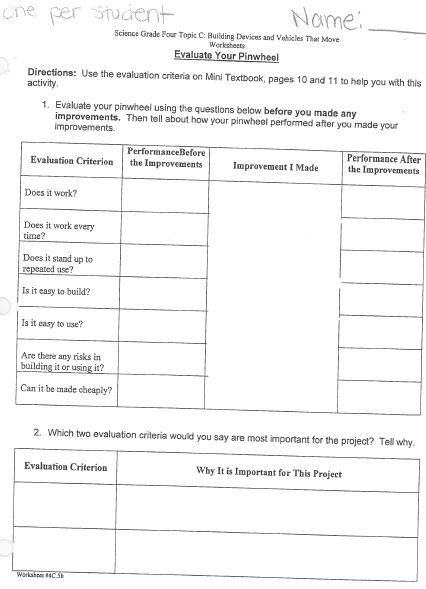
The students were required to read the mini-textbook to learn about windmills so that they could discuss the benefits and history behind the devices. They were able to recognize how windmills are a logical and beneficial way of creating energy here in windy Alberta! They followed the directions to create a pinwheel out of paper and a sewing pin. Although many of the students' pinwheels worked on the first try, students were able to recognize that the pinwheel was rubbing against the pencil and slowing down. After evaluating their initial pinwheel, they added a "control" mechanism (a few beads) between the pencil and the paper to decrease friction and increase productivity of their "windmills".
#2 Flag Pole
For the flag pole experiment students were to build an initial flag pole without pulleys, and then rebuild it using pulleys to evaluate the effectiveness of the pulleys in reducing friction. They had to use their fingers to pull the strings up and down to evaluate the force needed to pull each of the flags. They evaluated the 2 flag poles using diagrams and by the guidance of our class criteria to come up with a final decision on which one they though was more effective.
#3 Water Wheel
The students were required to read the 2 page explanation of a waterwheel from our mini textbook to help them discuss the benefits of waterwheels and why we have them. Next they tested a waterwheel that I made that was made out of a cut-up empty yogurt container. After evaluating the first waterwheel, they were given the challenge of creating their own waterwheel with a plastic spool, shortened plastic spoons, and tape. The purpose was to see if they could use their previous knowledge to use the spoons as "paddles" to spin the spool. Then they had to compare the 2 waterwheels and decide which one was more effective. When we discussed the water wheels at the end of the week the kids were able to point out why their water wheels weren't that effective and what factors could've been changed to make them more effective (such as using duct tape over masking tape).
| | |
#4 Ski Lift
I figured that the typical "ferry" experiment from the Edmonton Public Schools resource was a bit far fetched for my kiddos who have probably never seen a river ferry before... so I figured I would turn it into something similar that might speak closer to their interests: we created ski lifts! I made a "mini-ski lift" out of wood, elastics, pulleys, nails, and paperclips. The kids had to get the "travelling paper clip" from one end of the lift to the other. They used their observations from the mini lift to make their own lift with string, spools, dowels, and little skiers. They had to use their hands to push or pull the strings so that the skiers travelled from one end of the lift to the other.
| | |
#5 Construction Crane
For the final center kids were to follow both written and picture instructions to help construct a complicated crane with a crank. Kids quickly realized "tricks" to make the crane more effective and they had a lot of fun cranking the "load" up and down. Their paperwork required them to label all the various parts of the crane and to summarize the procedure that they followed to build the device.
 RSS Feed
